Iperius Console is the software that allows to monitor all your backups made with Iperius Backup, along with the possibility to start and schedule them remotely in a few clicks.
With Iperius Console, you can also view information about connected PCs and group them into Workgroups, also interfacing directly with other products of the Iperius Suite, such as Iperius Remote and Iperius Storage.
Specifically, starting from version 3.0.0, Iperius Console allows connection in Remote Desktop via Iperius Remote 4, effectively using the remote support product of the Iperius suite as if it were a real plug-in.
Below we will describe the three necessary steps to connect a computer to the console:
1) Installing Iperius Console Agent, the fundamental service that allows connection between the products of the Iperius Suite and the console;
2) Enabling notifications to Iperius Console from Iperius Backup;
3) First Login to Iperius Console web interface;
To proceed with the first step, you must first purchase a license from the Iperius Console. This can be done directly from our website at the following link:
https://www.iperiusbackup.com/web-console-backup.aspx
Once the purchase is completed, or if you already have an Iperius Console license, you can go on with the installation of Iperius Console Agent.
1 – Installing the Iperius Console Agent
Before going on with the tutorial, please note that Iperius Backup must be updated at least to version 5.4.1
For installation, just download the setup file to the following link and run it to start the installation wizard:
https://www.iperiusconsole.com/download/SetupIperiusConsoleAgent.exe
Alternatively, you can download and install it directly from Iperius Backup, inside “General Settings” , within the “Console” tab, by checking either the option “Enable Iperius Console” and then clicking the “Configure the connection to the Consol” button (see next image).

After completing the setup step, following the detailed instructions, a further window will now be displayed, allowing a fast configuration of the Iperius Console Agent before it starts (see image below).
If you already have an existing connection between Iperius Backup and the previous version of the console, the program will automatically retrieve license, workgroup, and notes, filling up the text boxes and speeding up the installation and configuration of the agent.
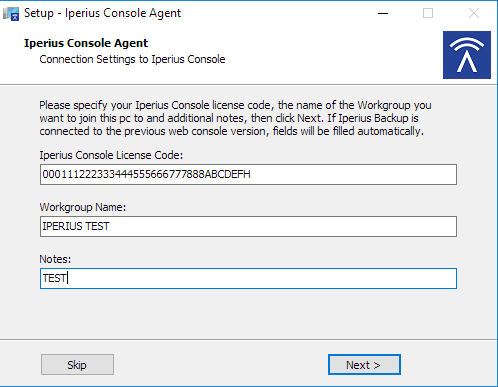
After you enter the license code and the workgroup name, just click Next to complete the installation (in the last window, you should check the “Start Iperius Console Agent” option).
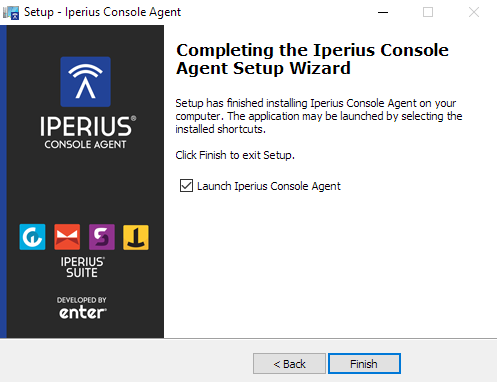
This will make Iperius Console Agent start immediately and, if license data have been configured through the installation, also directly connect to the console, showing a message of successful connection made.
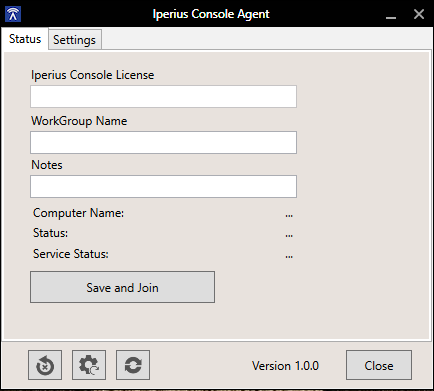
If the configuration hasn’t been made within the setup (using the “Skip” button), the program will show the “Iperius Console License” and “Workgroup Name” text boxes both empty (see image below) and editable, as well as “Computer Status”and “Service Status” , which will indicate “Unconnected” and “Not Installed” .
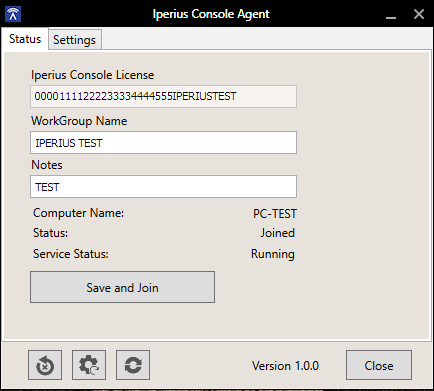
Now, just enter the license data and the workgroup name (and any additional notes) in the respective boxes, then click “Save and Connect” to directly connect the PC to the Iperius Console.
If the process ends successfully, you will see the same screen you would see if you’ve done the configuration inside the setup wizard.
PS: In the case of PCs connected to the network through proxy, you can set the proxy address and credentials inside the Iperius Console Agent options tab.
Let’s go to the next step, where we will describe how to enable Iperius Console inside Iperius Backup.
2 – Enable console notifications in Iperius Backup
For those who have installed the Iperius Console Agent directly from Iperius Backup, you can skip this step and go directly to step 3 of this guide, since enabling notifications has already been performed during the first phase.
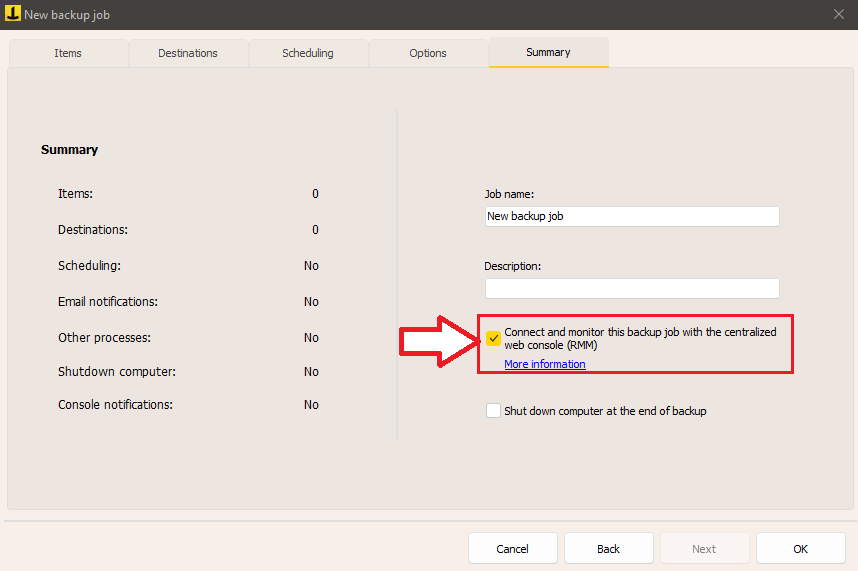
To enable notifications, just select the following option in the Summary of the New Backup Job:
At this point, we can go to the last step of our guide: the first login in the Iperius Console interface.
3 – Iperius Console interface
Connect to our web page https://app.iperiusconsole.com entering the credentials that were sent by email after the purchase of Iperius Console license.
At this point, you will see the main menu of the console, where you can find the various statistics regarding workgroups and console-linked PCs, as well as job and log backups made with Iperius Backup and for which the notification to the console has been enabled (see following image):
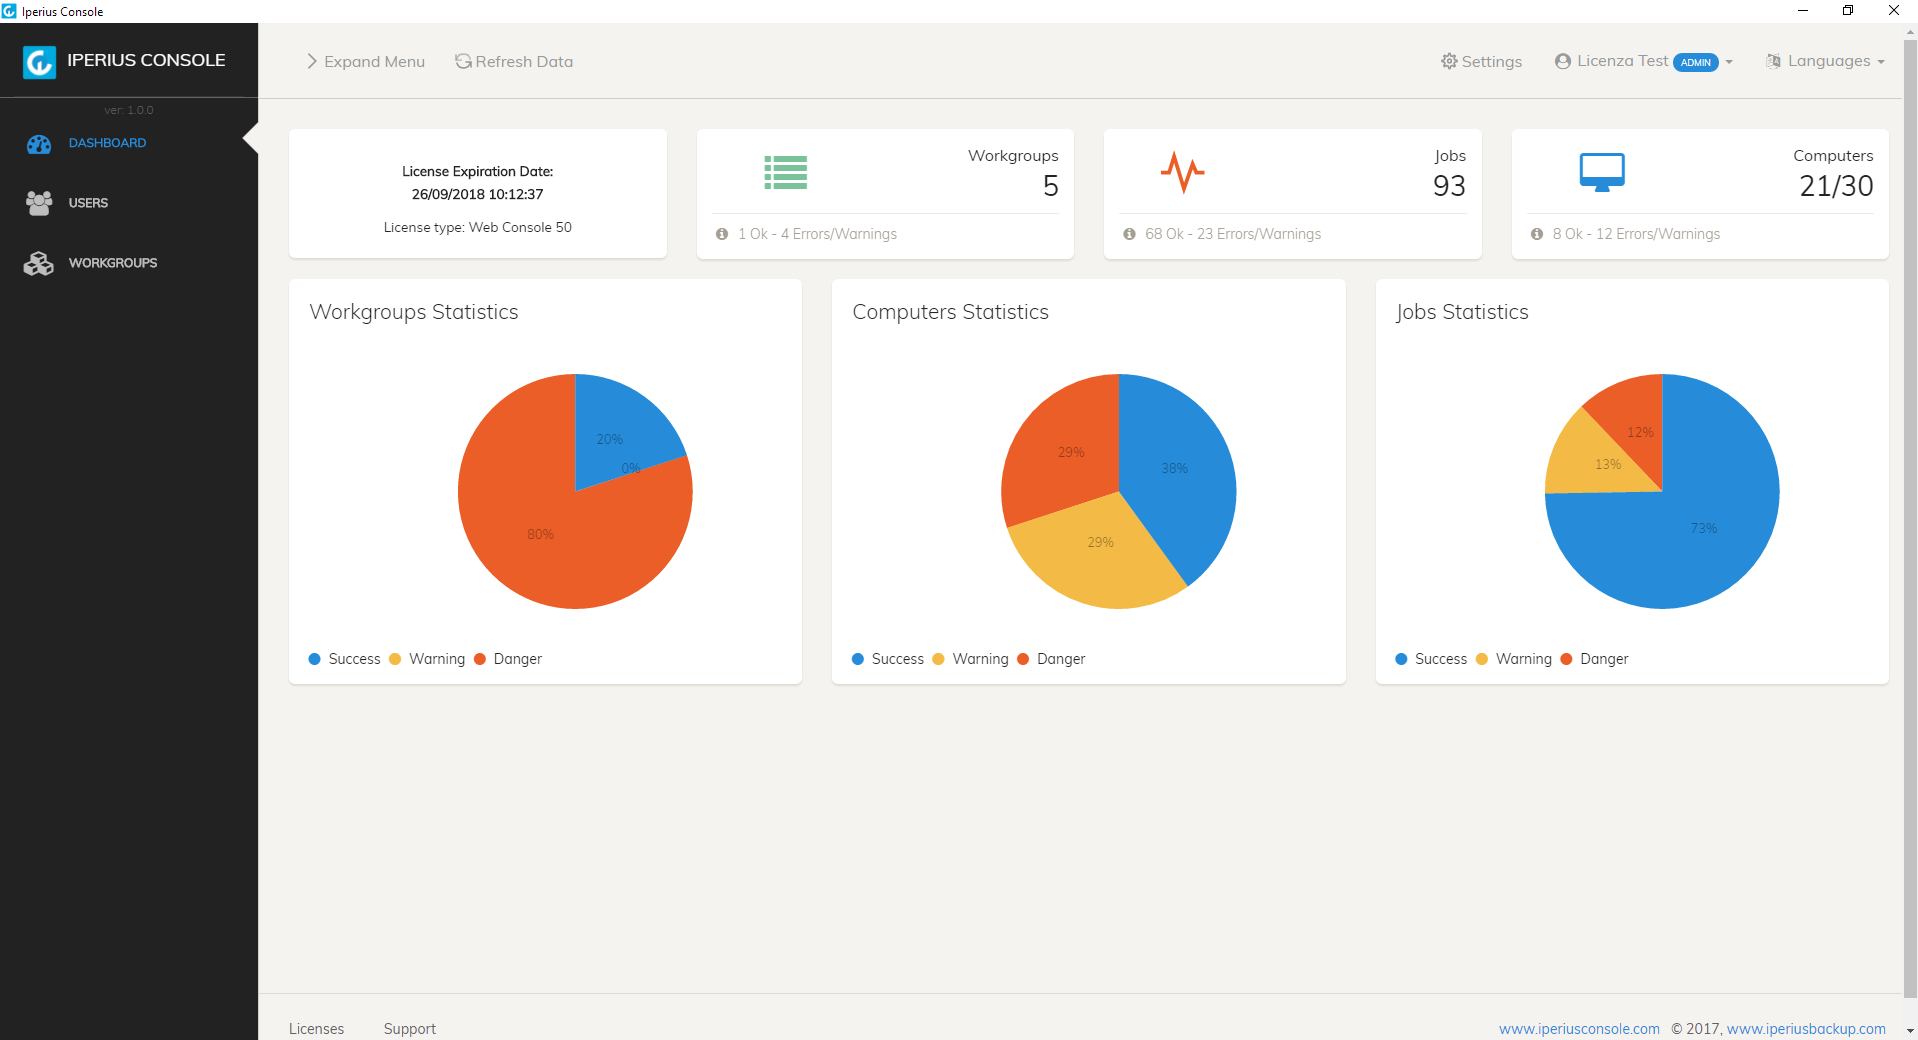
Once logged in, you can now take advantage of the many remote monitoring and control features that Iperius Console provides, including Iperius Backup backup and updating remotely, changing backup scheduling times, and of course the Complete view of the results of all backups for which notifications are enabled to the console.
Only and exclusively for the first execution, it is necessary to run backups from Iperius Backup software, in this way they can be detected by the console and from the next time they can be scheduled and executed directly by Iperius Console.
It is also possible to specify different types of users within the administrative panel of the console, which will therefore have different permissions: “User” and “PowerUser” can only see the workgroup that the “Admin” allows them to see; moreover “PowerUser” respect to “User” can create work groups (but not remove them), start backups and modify them (including scheduling), can also update Iperius Backup both for the single PC and for all the PCs in the workgroup. Finally, the “Admin” can see all the workgroup and do any operation on the console.
hi,
I’m getting an error configuring the new web console. One server added fine, the next one with 5.4.3 on sbs 2011 said error during the registration of PC. the console is v1.0.1
using this license 49B27579CAFBD7979E6C44C245191EDA
Thank you.
Hi, please open a support request here: https://support.iperius.net
Does the console also works with the free backup version ?
No, to work with the Console you need at least the Desktop edition.
its overwrite my all file and folder .i cant get the option of date and time wise backup .so pls help me to get the option where i can take backup of my foders daily wise automatically
Hi,
for technical support, please open a ticket on https://support.iperius.net.
Hello,
Iperius console work on internet or in my LAN ?
I have a network without internet acces with vmaware and sql server. I want to use remote console with backup and iperius remote.
Can I install iperius remote in my LAN without internet access ?
Regards
Hi,
Unfortunately it’s not possible to use Iperius Remote and Iperius Console without internet access.
For more technical support, please open a ticket ton https://support.iperius.net
Estou testando a versão do console para posteriormente comprar, mas não consigo visualizar o desktop que configurei com a versão full de teste.
Desde já agradeço pela ajuda.
Hi,
please open a support ticket on https://support.iperius.net