Iperius Remote is an efficient and easy-to-use remote control and support software, with which you can quickly access to any computer connected to the internet.
Numerous new features have been introduced in the new version 3.1.0, both in the list of remote computers and in administrative management. Now the administration panel of an Iperius Remote license has been moved to a dedicated web interface, which allows greater usability and better control. The administration panel can be reached at https://adminremote.iperius.com/, and can be accessed by logging in via your Master account or an operator account.
If you need to use Iperius Remote for Smartworking, click here.
In this tutorial, we will see how to correctly set the credentials obtained after the purchase of an Iperius Remote license (be it Small, Medium, etc.) inside the software:
- the Master Account, needed to access to the contact list, as well as to all the management and organization activities of the license itself (creation and editing of operators, display of the statistics, etc.) : you have to put it inside those computers from which you are connecting to provide an assistance. As an alternative, to take full advantage of the new users/operators system, you can directly insert your operator credentials.
- the Client Account, needed to add computers inside the contact list and build your own “address book”: in a few words, it must be put in the comouters to which you want to connect (for a remote desktop session);
Both of them consist of a username and a password (that you can change) and must be set in the “General Settings” of the software. Indeed, the great advantage compared to the Free version is that it is no longer necessary to use ID and password to connect but once the 2 accounts above have been configured, you will find the Client in the Client List, just double click on it and connect without more need password.
After downloading the Iperius Remote executable file from the website https://www.iperiusremote.com (no need to download again if you already have it), open it and click on the “General Settings” icon (the one representing the shape of a gear, see picture below) :

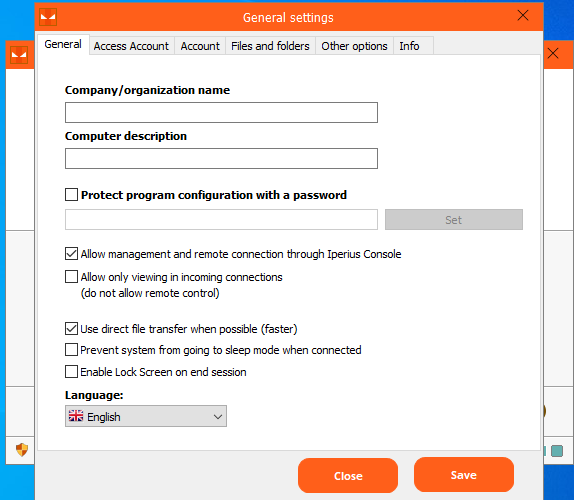
This will open up a window (see picture below) containing several options of the program, such as the interface language and the “Company/organization name” and “Computer Description” fields, useful for customizing how to the PC is shown inside the contact list. Furthermore, you can also set a password to protect the configuration:
Let’s now see how to correctly configure the two accounts provided after purchasing the license.
How to configure the Client Account
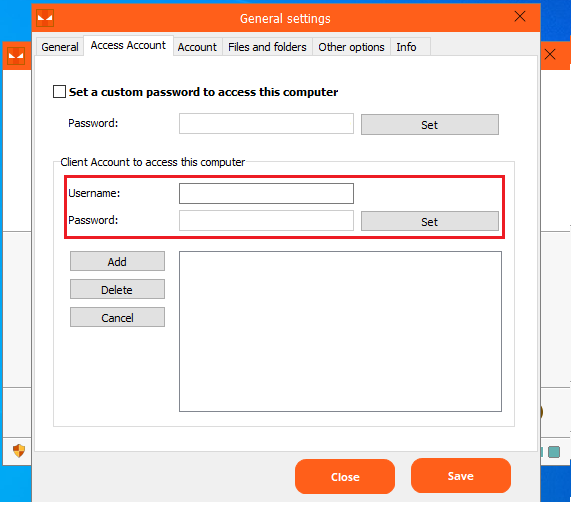
Let’s now see how to configure the Client Account. Let’s open again the “General Settings” window, but this time let’s click on “Access Accounts” (see the image below):
This will show a window (see the image below) where you can set multiple client accounts, in addition to an eventual custom password to access the PC.
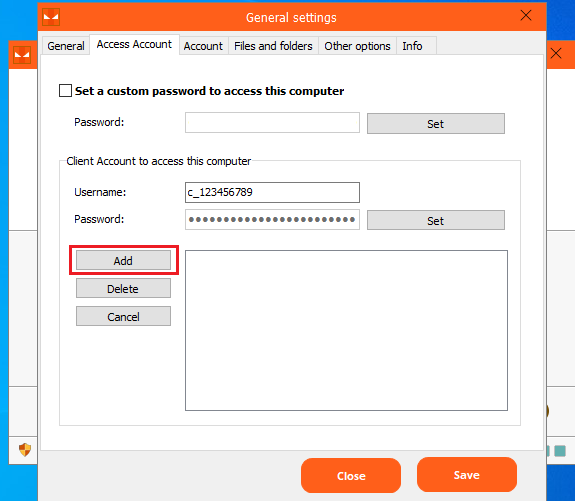
After inserting the credentials of the client account, let’s click on the “Add” button to add it to the “Access Accounts” list below.
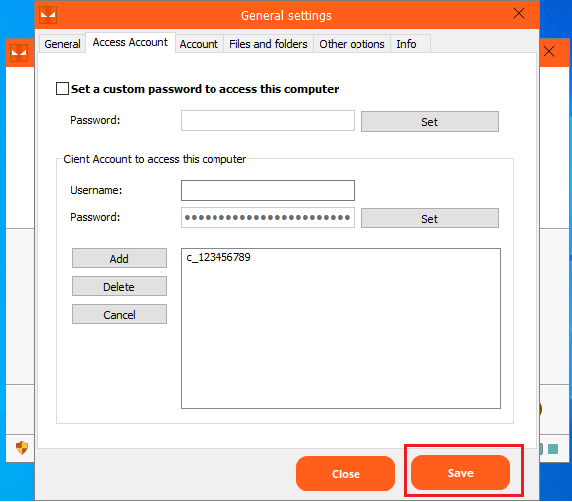
The Client account just configured will be added to the list straightaway. Let’s now click on the “Save” button below (see following screenshot) to apply and save changes and make sure that your PC will be added to the contact list of that Iperius Remote license.
The fact that you can set up multiple customer accounts is useful, for example, to allow different companies that provide remote assistance to access the customer’s remote computer independently, each one with their own account.
Indeed, the Client account password is also the one required to connect to the remote computer if it is selected from “History”.
Now it’s essential to click on “Allow Connections” in order that the computer is enabled for reception and can therefore allow remote connection.
Finally, you can set up the Service , if necessary, to enable unattended access. You can follow this tutorial for activation: https://www.iperiusbackup.net/en/install-iperius-remote-as-service-for-automatic-unattended-access/
How to configure the Master Account
Starting from the versione 3.1.0 of Iperius Remote it is possible to configure more than one Master Account or Operator Account.
The configuration can be made from the “Account” tab in the general settings. There is a drop-down list containing the configured master accounts or operator accounts.
If you upgrade from a previous version, for which a Master Account or an Operator Account had already been set, the same is shown in the drop-down list as the default choice.

By ticking “use the following account”, selecting the desired username and clicking “Save”, the program is indicated to use those specific credentials to access all the software functions that require user authentication and profiling (eg : List of Hosts).
To add or manage accounts, you can click on the button on the right of the drop-down menu. The form contains the list of stored and usable accounts on the left. The screen that appears is as follows:

Using the buttons on the right “New”, “Edit” and “Delete” you can respectively add other accounts, edit them or delete them.


To login with the Master account is equivalent to authenticating with the “default” Administrator user of the Iperius Remote license. Starting from version 3.1.0 the Administrative Area and the Statistics Section are available in then new web-based management system, and they will always be accessible with the appropriate buttons but only after authentication, always required.
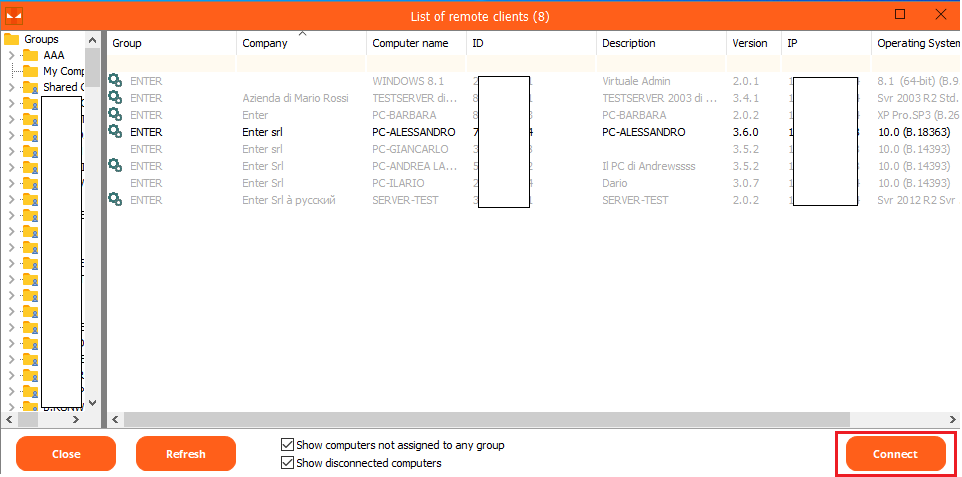
At this point, you will be able to access your contact list and, in case of an “Administrator” account or the Master Account itself, also the Statistics and the Administration panel will be available.

Select the PC you want to connect to and click on “Connect”.
PLEASE NOTE: if you need technical support or have any sales or technical question, don't use comments. Instead open a TICKET here: https://www.iperiusbackup.com/contact.aspx
**********************************************************************************
PLEASE NOTE: if you need technical support or have any sales or technical question, don't use comments. Instead open a TICKET here: https://www.iperiusbackup.com/contact.aspx
*****************************************